Old Rocking Chair RE-DO!
I've had this rocking chair for over 12 years - stored! I've never sat in it, even when it was bought! I loved it and had to have it, I was a sophomore in high school. So FINALLY, after all these years, I've decided to make it part of my house but it needed SERIOUS work done! So glad I've saved it and refinished it!
With VERY little sanding, I am SUPER excited to show and tell you how to achieve the same thing!!!
To get started ...
- Your Chair
- Electric Sander and Sanding paper
- Bonding primer
- Paint (I used Latex)
- Glaze
- Stain
- Rags or Old t-shirts
Upholstering the chair ...
- scissors
- stuffing or foam
- Staple gun and staples
- fabric (I used a "base" fabric for the stuffing, then covered with the good)
- E6000 Glue
(1) Start by taking the chair apart, I just took the parts that we sit on apart, I didn't want to spend FOREVER disassembling and assembling after it was finished. Make sure Your putting screws in a baggie or container as you're taking them out.
(2) I lightly sanded over. This Chair was old and hasn't been stored in places that were always protective. So I just sanding to take layers that were peeling off. If the electric sander couldn't reach it, I didn't sand it. Believe me, that was most of the chair!
(3) Start with your Bonding Primer. Best stuff EVER! Valspar Bonding Primer - for high gloss surfaces. It will SAVE you a TON OF TIME!
I did one coat and I didn't sand after applying.
You may have to apply your first coat and then flip chair over to make sure you've got it applied all over.
(4) Apply your first coat of paint. This chair was a pain for getting the paint everywhere! With the different groves and bends.... I just took my time, flipping and turning to make sure it was covered.
(5) Apply another coat of paint to make sure primer and chair is covered well.
(6) DISTRESS the painted! I went crazy! Again, only sanding where the electric sander would reach. I added a lot of distressing. This chair was old and I wanted the OLD look! Wipe down with damp cloth.
(7) Prepare the glaze! Add enough Glaze that you think will cover the entire chair then add stain. I added a little bit more stain, I wanted it dark in the areas that the wood was bare. I would say I added half the stain that I had for glaze - maybe a little less.
(8) Get your crazy painting on. I painted the chair EVERYWHERE. I applied on one whole side, making sure to get under and in between the little stuff, this was without flipping it over - since the glaze stays wet for long periods of time. Then moving to the other side. This was to make sure when starting to wipe off, that one side sat for the same length - not wiping off glaze that was just applied.
(9) When glazing the bases for the cushions, I tied a string and hung it from the door way with a hanger, this way the glaze and stain was everywhere and there weren't spots missing. Since the glaze takes forever to dry I wanted it all done at the same time instead of taking all day to let it dry - impatient!
(10) Start wiping from the side you started glazing first. By the time you get there, it might feel sticky but dry. I added a few drops of water to barely damp the rag and started wiping. Make it your own, it's totally up to you how much you want to take off or leave on. If you want it really antiqued, you might leave out the dampness of the rag. Let it finish drying.
(11) Now that the chair pieces are dry ... start doing the upholster!
(12) Take all the fabric and padding of the base. Mine was mostly glued on there, a few staples to hold the form around the corners. THROW IT AWAY! It was SO disgusting! I don't know if it was even healthy to breathe!
(Now, I didn't have foam lying around. I had stuffing, so I just used that. I wouldn't recommend this if the chair will have a lot of bums resting on it. This one I'm doing will be lucky to be sat in. It's for looks and to say I actually did something with this chair!)
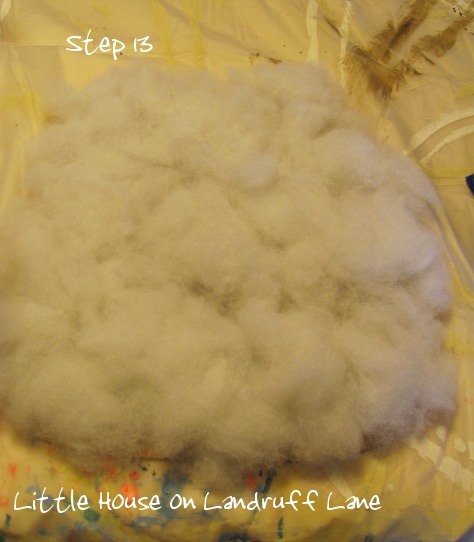
(13) If doing stuffing, I used a little rubber cement glue to hold the pieces in place. If using foam, just trace your foam to fit the form, I would also glue down to hold in place.
(14) Because I used stuffing and didn't want it moving around while I put cover on, I used scrap fabric. If you're using foam, skip to Step 15. Lay it down over the form and stuffing. Staple one end, move the other end, moving over the side. - making sure to be pulling the fabric tight. Complete both the front and back. Trim the excess off.
(15) Ready for the pretty stuff! Lay it right over the top. Avoiding corners, staple the side of the fabric that is not stretchy - not the bias side. Turn around and staple right across - making sure to stretch tight. Then using both arms, stretch the fabric tight, holding one side secure, staple down. Turn around and staple directly across.
NOTE: Keep in mind that the staples we're putting on the pretty stuff, we're going to be taking out. This chair doesn't have a "lip" around the top. If they're aren't taken out, you'll see them.
(16) Start working the corners. Using the same steps as 15, start with one corner, working across. I stapled a lot, avoiding any moving or bumps in the fabric about we assemble.
(17) Trim the excess fabric off, leaving about an inch to two for gluing fabric secure to base.
 (18) Now using the Glue. I use E6000 on a few projects; hair pins, fabric related projects, etc. Flipping the base over, make a line of glue on one side, start folding the excess fabric over, working from the middle to the corner.
(19) To get the corners tight, start in the middle of the corner, using a clip, clip it so that it stays. Repeat all the corners. Clip where you need the fabric to stay.
(20) After it's dry, remove clips and staples.
(21) If you want the back to look nice, trace the fabric a little wider then the base, cut out and add a little glue to hold securely.
 (22) Making sure there are no drips, left over fabric and such to the wooden brace for the base. I used a screwdriver and just quickly went around.
(23) Using the Glue - E6000, make a thick line of glue all around the brace. Put your base on pushing hard all the way around to make sure it's all the way down and secure with glue. Let dry
(24) When everything is dry, Assemble it all back together and BE EXCITED!! LOVE IT!


 (22) Making sure there are no drips, left over fabric and such to the wooden brace for the base. I used a screwdriver and just quickly went around.

No comments:
Post a Comment